Tanzu Mission Control is a centralized management platform for consistently operating and securing your Kubernetes infrastructure and modern applications across multiple teams and clouds, With TMC you can manage entire Kubernetes footprint, regardless of where your clusters reside. In this post, I will take you through the steps to register management cluster in TMC that is already deployed on vSphere and followed by workload cluster creation through TMC console.
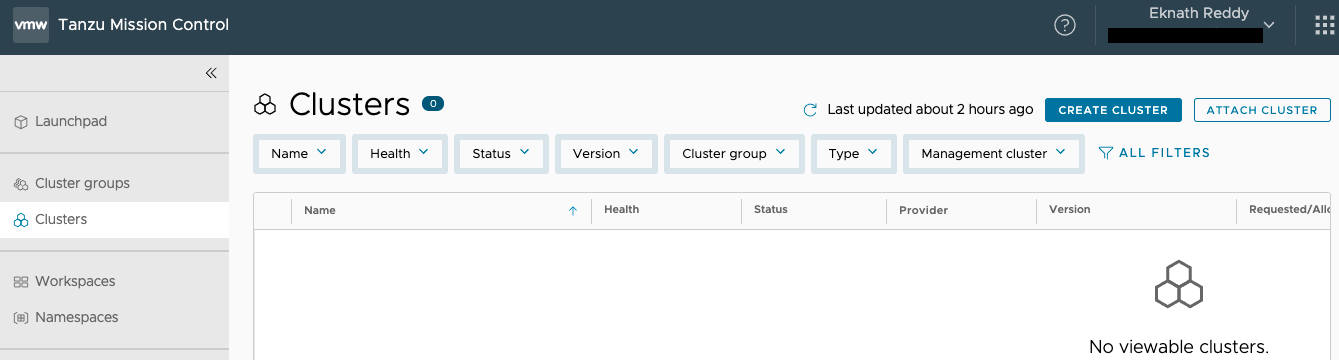
As shown below, there are no clusters exist and we will create one shortly.
Register Management Cluster:
Login to TMC console > select organization (from dropdown of change organization)
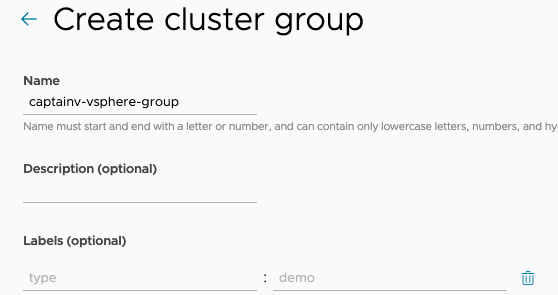
Optional: Create a cluster group by navigating to > Cluster groups > Create cluster group : provide Name and optional fields Description and Labels > Create
In left menu select Administration > management clusters > Register management cluster > Tanzu Kubernetes Grid
Fill the details:
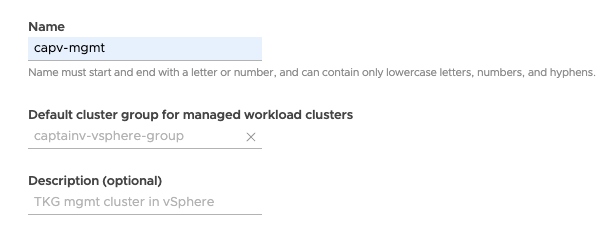
Name and assign
Name:
Default cluster group for managed workload clusters:
Description (optional):
Labels (optional):
Next
Proxy (Optional)
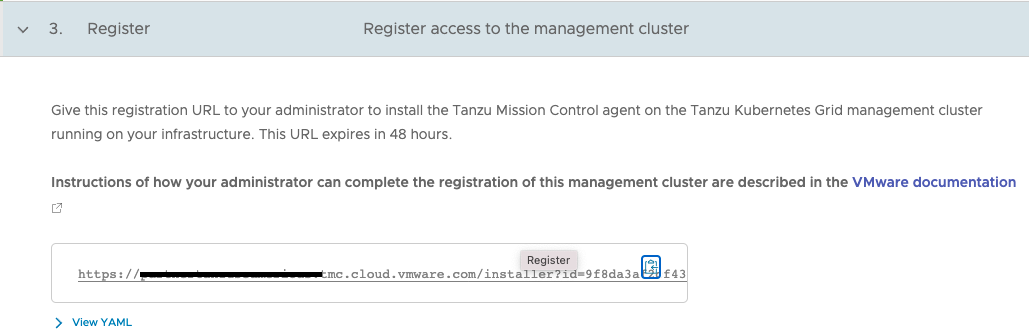
Register:
copy the URL as shown below or expand the yaml to get the code that need to be run on management cluster.
Install TMC agent
Install TMC agents on TKG management cluster
#Ensure current context is set to mgmt cluster $ kubectl config current-context capv-tkg-mgmt-vsphere-admin@capv-tkg-mgmt-vsphere
# I copied the yaml code into file and executed using kubectl apply:
ubuntu@ubuntu-526:~$ kubectl apply -f tmc.yaml namespace/vmware-system-tmc created configmap/stack-config created secret/tmc-access-secret created customresourcedefinition.apiextensions.k8s.io/agents.clusters.tmc.cloud.vmware.com created customresourcedefinition.apiextensions.k8s.io/extensionconfigs.intents.tmc.cloud.vmware.com created customresourcedefinition.apiextensions.k8s.io/extensionintegrations.clusters.tmc.cloud.vmware.com created customresourcedefinition.apiextensions.k8s.io/extensionresourceowners.clusters.tmc.cloud.vmware.com created customresourcedefinition.apiextensions.k8s.io/extensions.clusters.tmc.cloud.vmware.com created serviceaccount/extension-manager created clusterrole.rbac.authorization.k8s.io/extension-manager-role created clusterrolebinding.rbac.authorization.k8s.io/extension-manager-rolebinding created service/extension-manager-service created deployment.apps/extension-manager created serviceaccount/extension-updater-serviceaccount created podsecuritypolicy.policy/vmware-system-tmc-agent-restricted created clusterrole.rbac.authorization.k8s.io/extension-updater-clusterrole created clusterrole.rbac.authorization.k8s.io/vmware-system-tmc-psp-agent-restricted created clusterrolebinding.rbac.authorization.k8s.io/extension-updater-clusterrolebinding created clusterrolebinding.rbac.authorization.k8s.io/vmware-system-tmc-psp-agent-restricted created deployment.apps/extension-updater created serviceaccount/agent-updater created clusterrole.rbac.authorization.k8s.io/agent-updater-role created clusterrolebinding.rbac.authorization.k8s.io/agent-updater-rolebinding created deployment.apps/agent-updater created cronjob.batch/agentupdater-workload created
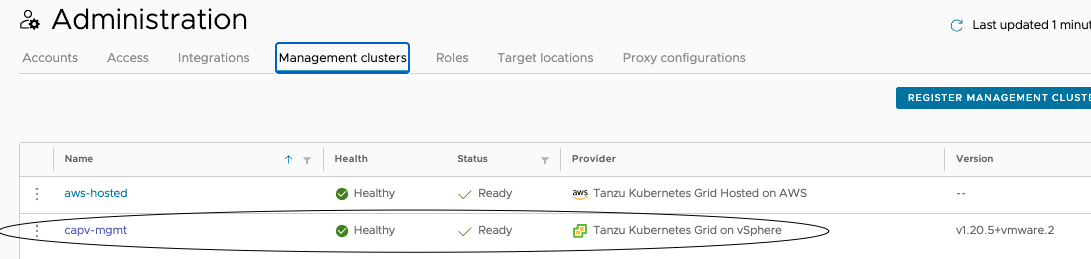
To verify the registered management clusters: Navigate to Administration > Management clusters >
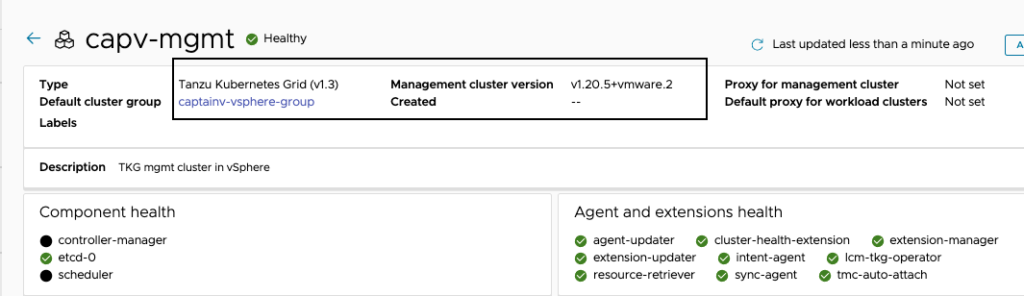
Click on management cluster to check the dashboard, health, policies, workload clusters, access etc ..
Create Workload cluster
Now, let’s go through the steps to create workload cluster from TMC console. Since the management cluster is already registered, workload cluster creation is very easy.
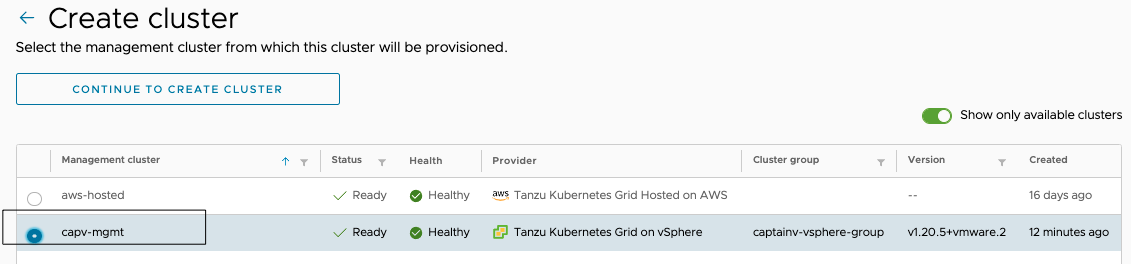
In TMC console, navigate to Clusters > Create cluster > select management cluster > continue to create cluster
Hint: In this case, I would like to select the one we registered earlier.
Provisioner: Default
Name and assign: provide a cluster name
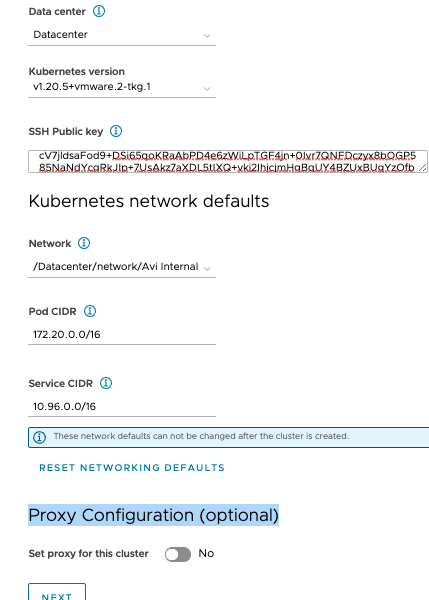
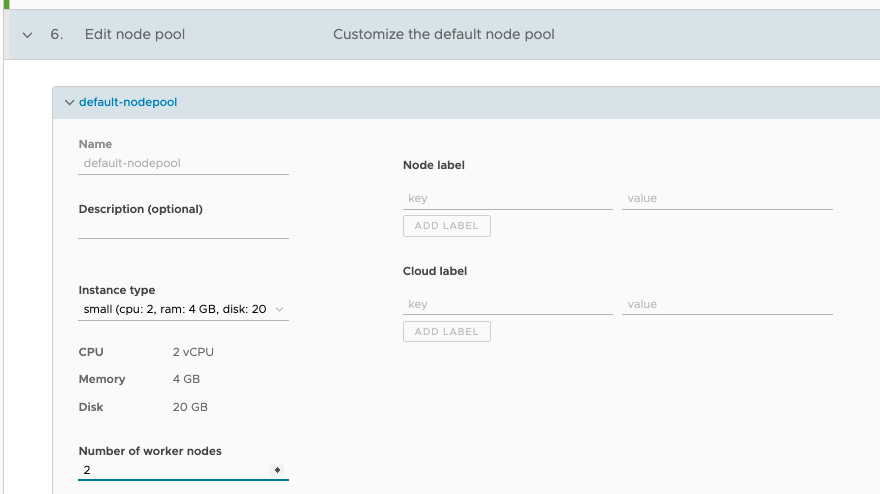
Configure: appropriate values can be selected from drop down
paste the SSH public key and remaining fields are auto filled.
Proxy Configuration (optional) : Enable this if you have proxy
NEXT
Specify resources: auto filled, can be changed if required
Select control plane: Single node or Highly available
Control plane endpoint: Provide an ip or fqdn
Create Cluster
You can see the progress of vm creation in vCenter and it should take few minutes for clusters to be created and turn healthy.
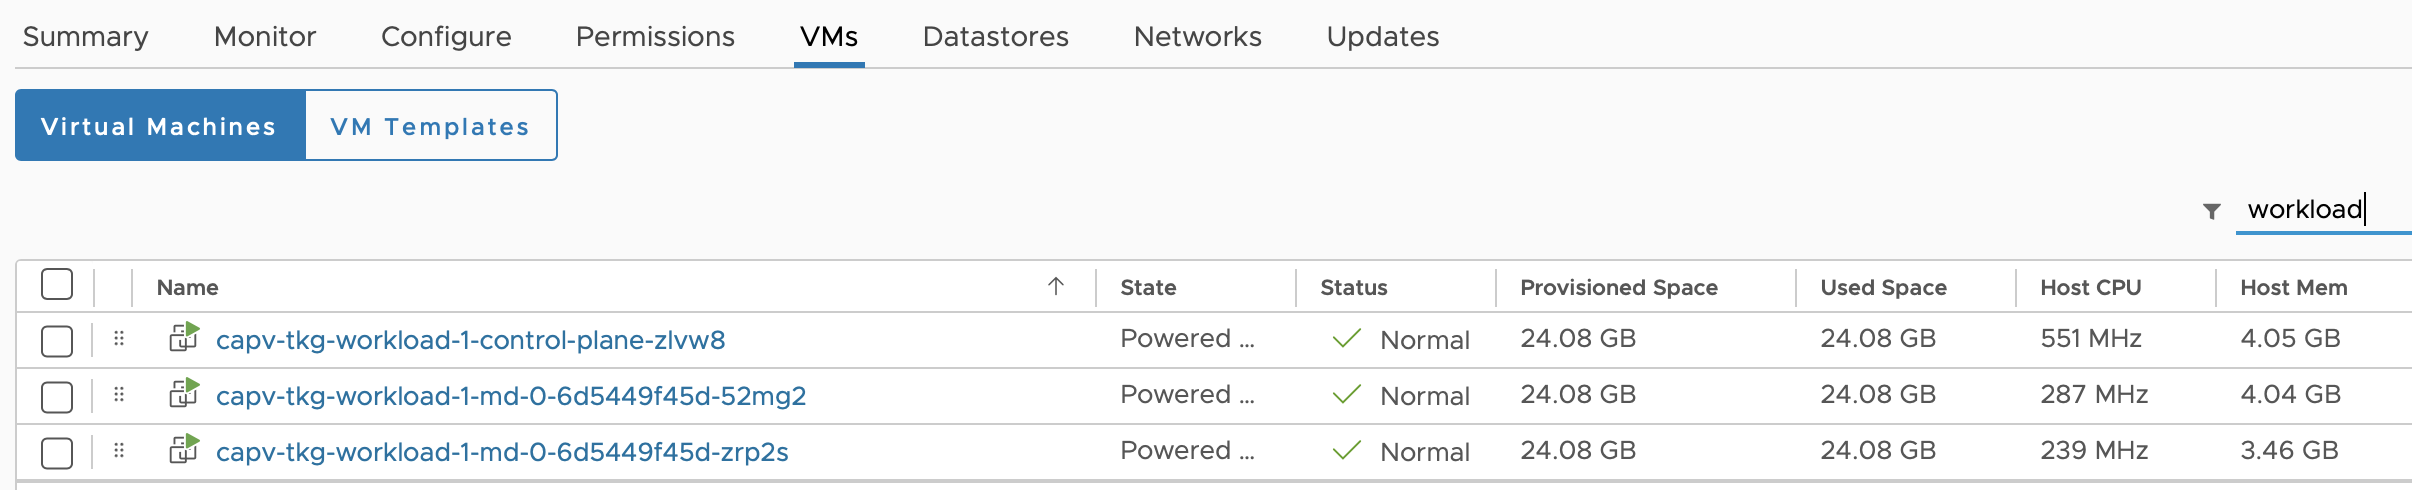
Verify the workload nodes created in vCenter
Navigate to TMC Console > Clusters
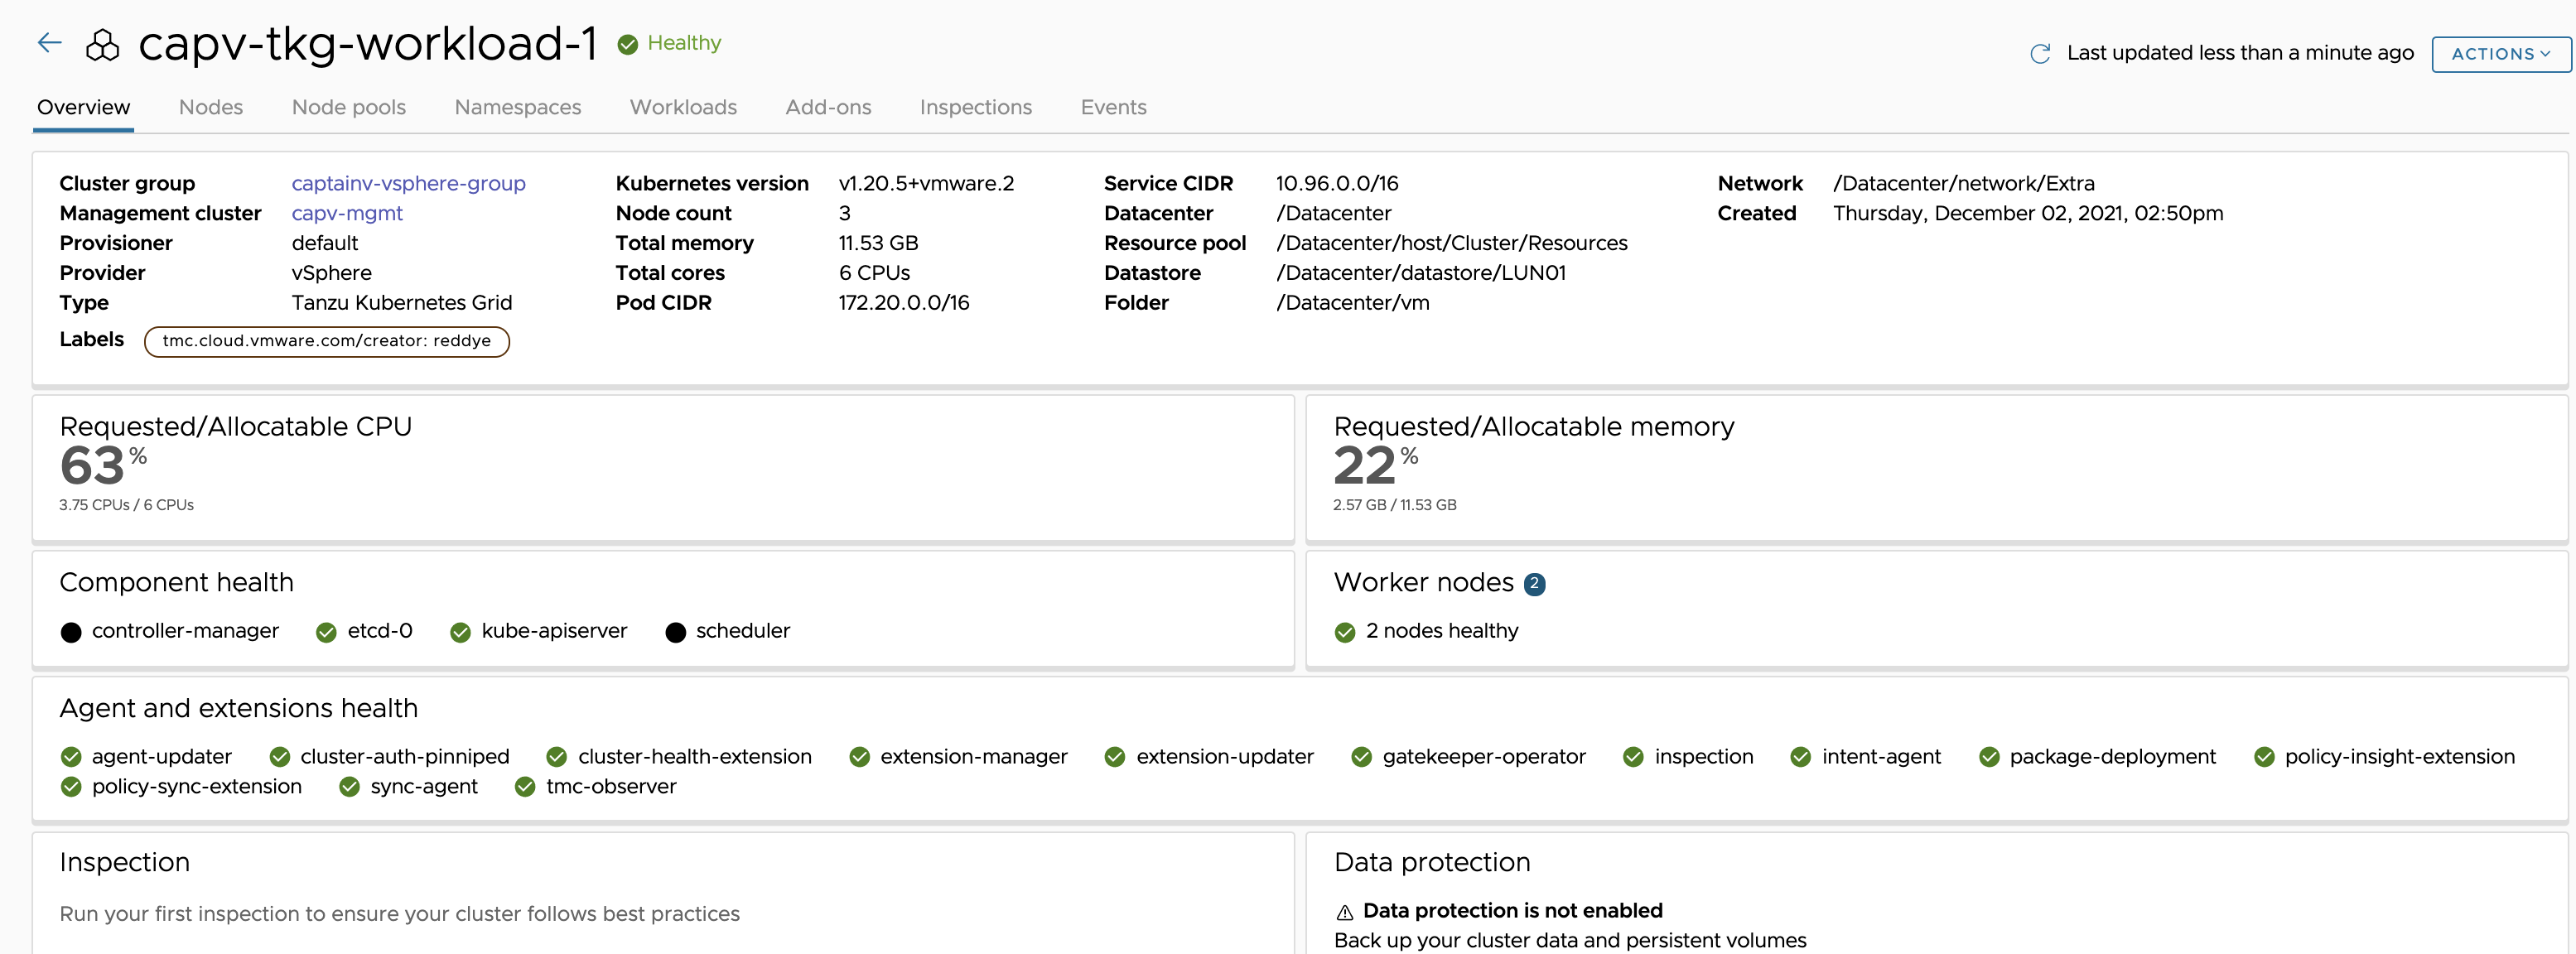
Check the health of workload cluster created and status should be Ready
Click on workload cluster to check the nodes, workloads, events, namespaces, metrics, health etc ..
# Check the workload cluster
$ tanzu cluster list
  NAME                 NAMESPACE  STATUS   CONTROLPLANE  WORKERS  KUBERNETES        ROLES   PLAN
  capv-tkg-workload-1  default    running  1/1           2/2      v1.20.5+vmware.2  <none>  dev

# Get workload cluster credentials

$ tanzu cluster kubeconfig get capv-tkg-workload-1 --admin
Credentials of cluster 'capv-tkg-workload-1' have been saved
You can now access the cluster by running 'kubectl config use-context capv-tkg-workload-1-admin@capv-tkg-workload-1'

# Change the context to newly created workload cluster
$ kubectl config use-context capv-tkg-workload-1-admin@capv-tkg-workload-1
Switched to context "capv-tkg-workload-1-admin@capv-tkg-workload-1".
# List the available contexts and check * is pointing to new cluster.
$ kubectl config get-contexts
CURRENT   NAME                                                                    CLUSTER                           AUTHINFO                                NAMESPACE
          capv-tkg-mgmt-vsphere-admin@capv-tkg-mgmt-vsphere                       capv-tkg-mgmt-vsphere             capv-tkg-mgmt-vsphere-admin
*         capv-tkg-workload-1-admin@capv-tkg-workload-1                           capv-tkg-workload-1               capv-tkg-workload-1-admin
          tkg-captainv-demo-admin@tkg-captainv-demo                               tkg-captainv-demo                 tkg-captainv-demo-admin
          tkg-cluster-1-admin@tkg-cluster-1                                       tkg-cluster-1                     tkg-cluster-1-admin
          tkg-mgmt-vsphere-20211117113036-admin@tkg-mgmt-vsphere-20211117113036   tkg-mgmt-vsphere-20211117113036   tkg-mgmt-vsphere-20211117113036-admin

# Check for nodes and see if you are getting desired output.

$ kubectl get nodes
NAME                                        STATUS   ROLES                  AGE   VERSION
capv-tkg-workload-1-control-plane-zlvw8     Ready    control-plane,master   76m   v1.20.5+vmware.2
capv-tkg-workload-1-md-0-6d5449f45d-52mg2   Ready    <none>                 75m   v1.20.5+vmware.2
capv-tkg-workload-1-md-0-6d5449f45d-zrp2s   Ready    <none>                 75m   v1.20.5+vmware.2